Showing posts with label Lee vs McClellan. Show all posts

Friday, 13 April 2012

Crane's Station - Confederate OOB

Here is the Confederate OOB for the Battle of Crane's Station. It wasn't posted earlier to keep General McClellan in the dark regarding the size and composition of the Confederate force. Mr Pinkerton of course told the poor general that he was facing at least 150,000 rebels...

Army of Northern Virginia ~  General Lee (A)
18 infantry brigades – 147 SPs – 7  Batteries - DM level = 6 
Cavalry ~ Stuart (A)
1/3 Brig               8
2/3 Brig               8
3/3 Brig               8
ART Horse           8

AP Hill        (B)
Field                      8
Gregg                    8                   
JR.Anderson         8
Branch                  9
Archer                   9
Pender                  9
ART bty                8          
ART bty                8                

Longstreet  (B)
Kemper                9                
RH.Anderson       9
Pickett                  9
Wilcox                  8
Pryor                    8
Featherston         7
ART bty               8
ART Rifled           8

Magruder       [C)
McLaws division (B)
Semmes               8
Kershaw               8
Jones division    [C)
Toombs                 8
GT.Anderson        8
Magruders division (C)
Griffith                 7
Cobb                    7
ART bty               8

Saturday, 7 April 2012

The Battle of Crane’s Station - Conclusion

Keyes finally received orders to advance and ENGAGE the enemy line at Beckettville whilst at the same time Sumner was told to flank the left of Longstreet’s position there and ASSAULT.

 The blue and the grey battle-lines finally engage at Beckettsville.

A hot firefight ensued and Longstreet himself was added to the casualty list, carried from the field with a mortal wound as he tried to steady the Rebel line.

 Longstreet goes down (see the red marker by the corps stand!).

Meanwhile McClellan had ordered Porter to abandon his position at the Quaker Farm and form a new one at the church on the Westpoint Turnpike. However, as the Union troops started to withdraw they became mixed up with Cooke’s cavalry moving east on the turnpike resulting in another traffic jam.
 It's all over for the boys in blue!

Magruder and Hill continued to press hard on Porter’s shrinking line and then suddenly it was all over. At the end of turn 17 (3.00pm) the Union army had 6 brigades simultaneously broken and the Confederates had therefore achieved their victory condition.


Lee had won a convincing victory but lost one of his best generals in the process. McClellan decided he was happy with his old base and didn’t really want to change it after all. The Army of the Potomac disengaged and moved away to the north…

The situation at the end of the game (click on the image for a closer look).

Friday, 23 March 2012

The Battle of Crane’s Station Turns 7 – 14

At 10.00am McClellan and the Union HQ finally arrived on table behind Porter’s corps and the “Young Napoleon” wasted no time in issuing orders to Porter aimed at consolidating his position by the Quaker Farm.
Porter's corps at the Quaker farm.

Unfortunately a series of poor command die rolls meant that none of his orders were implemented and instead Porter was only able to react defensively to the growing Confederate threat. This limited him to pushing forward skirmishers and pounding away with his two artillery batteries deployed near the farm.

General McClellan at his HQ. The general was not having a good day.

Lee however managed to get fresh orders to Magruder to head towards Crane’s Station and once there to assault Porter’s flank.

General Lee's HQ (that's him on the white horse!).

McClellan was still unaware of developments at Beckettsville until at 11.30am a courier arrived from Keyes informing him that Longstreet was in the town but that his left flank was “up in the air”. Keyes and Longstreet were now locked into a skirmish and artillery duel whilst Sumner’s corps steadily deployed to the rear of Keyes.

Longstreet at Beckettville with an open left flank.

McClellan finally dispatched a courier with orders for Keyes but there was a three-mile gap between the two commanders, which meant more delay. Things were made worse by the fact that McClellan forgot for a while to issue any orders at all to Sumner or Cooke

 The couriers of both armies were the busiest men on the field for most of the morning.

By 12.30pm Magruder’s first division had deployed just south of Crane’s Station and shortly after this they assaulted Sykes division on Porter’s right flank. Two of Sykes brigades and a battery were routed and went streaming back through McClellan’s HQ although one of Magruder’s brigades were also broken in the process.

Sykes division collapses under pressure from Magruder.

So by the end of turn 14 the Confederates were looking increasingly menacing on the Union right whilst on the far left it was the Union troops with the upper hand now that Sumner had finally received orders to advance and occupy Fairweather Ridge.
The situation at the end of turn 14

To be continued...

Friday, 16 March 2012

The Battle of Crane’s Station Turns 1 – 6

McClellan’s deployment was as follows: Cooke in column on the Culver City Road with orders to “Move quickly towards Beckettville, ENGAGE any smaller enemy force or HOLD against a larger force”. Keyes to follow Cooke. Sumner to enter at map point “3” and to move either east or west along the Westpoint Turnpike (to be decided on a die roll). Porter to enter at map point “2”.

Lee ordered Longstreet to form a line of battle just to the north of Beckettville and to hold the town. Stuart, followed by Hill, were to enter at map point “6”. Magruder was to enter at map point “5” on turn five and move towards Crane’s Station.

Cooke's troopers mount up and fall back through Keyes infantry line 

Cooke’s troopers moved rapidly towards Beckettville where they observed the Rebels moving up through the town. The Union cavalry dismounted, formed a battle line and were soon hotly engaged with the lead Brigades of Longstreet’s Division. At one point Cooke bravely exposed himself to danger on the firing line to steady his troopers (it was noted that Longstreet was reluctant to do the same resulting in some wavering of the Confederates).

Longstreet's line at Beckettsville (looking north)

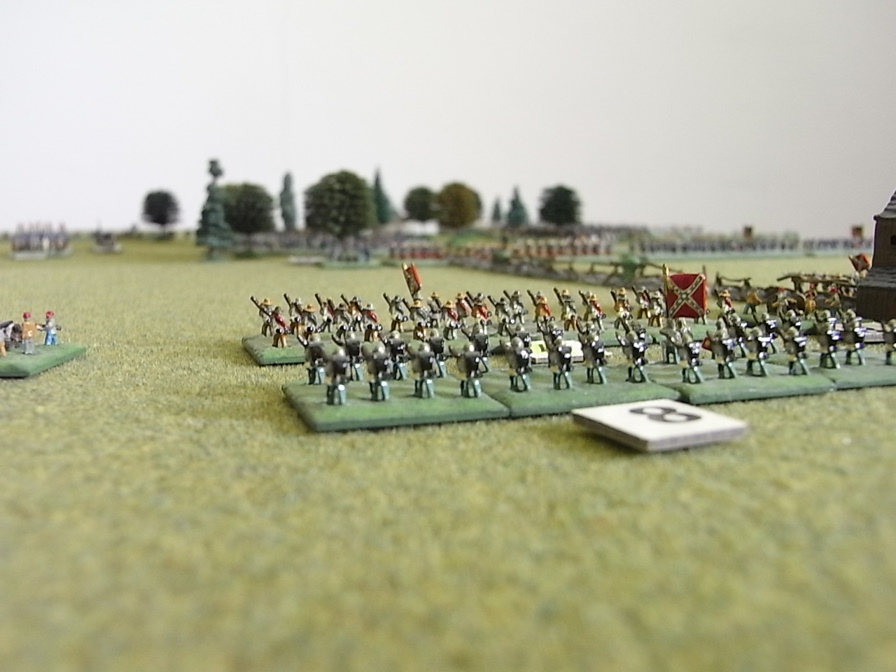
With the infantry of Keyes IV Corps arriving in support Cooke withdrew his troopers to the rear, their job done. Both sides now established battle lines but as neither commander had ENGAGE orders the fighting was limited to an artillery bombardment.

Longstreet and Keyes reach a stand-off at the end of turn 6

Meanwhile Sumner’s II Corps reached the Westpoint Turnpike where a die roll dictated that they turn left heading east. By turn three they were stuck in a traffic jam at the Carter House waiting for Keyes men to pass ahead of them.

Sumner's men stacked up on the Westpoint Turnpike with nowhere to go.

Over on the western side of the battlefield Porter’s V Corps headed straight down the Malvern Road where they soon ran into Stuart’s cavalry and Hill’s Division. Stuart’s troopers moved to occupy Burnt Hill whilst Hill’s men formed line of battle stretching from in front of the Quaker Farm towards Fairweather Ridge. Porter’s men deployed just to the north of the Quaker Farm but as both sides had HOLD orders all that resulted was some long range artillery fire.

Porter's men deploying to the north of the Quaker Farm (view from Stuart's position)

By turn five Lee had arrived on the table and set up headquarters at the Sawyer House. Here a weary courier arrived from Longstreet with the news that a full two enemy Corps were converging on his position at Beckettville. Lee responded decisively by sending new orders to Magruder (whose men were just arriving at the Sawmill).

Couriers move 18" per turn - this poor trooper is getting pretty exhausted as he moves across the entire width of the battlefield carrying General Lee's orders

So, at the end of turn six (9.30am) both armies are deploying but no serious combat has occurred. The Union forces outnumber those of Longstreet’s isolated Division at Beckettville but are unable to take advantage of the situation without offensive orders from McClellan (who is still off table). The Confederate forces are spread thinly along the whole five-mile front but have the advantage in command and control with Lee on table and able to issue orders.


A birds-eye view of the battlefield at the end of turn 6
(click on the image for a closer look or click here to see the map)

To be continued...

Sunday, 4 March 2012

Crane's Station - The Battlefield

Here is the table layout for the soon to be fought Battle of Crane's Station, a hypothetical battle set during the Peninsula campaign of 1862. The Union forces led by George McClellan (the "Young Napoleon") are moving south to a new base of operations on the James River. The Rebels under Bobby Lee are attempting to stop them. It should be noted that this scenario has been devised by the Confederates which is why there is a suggestion in the previous post that McClellan's army is trying "to escape from the Peninsula". This is untrue, the Army of The Potomac is merely engaged in a routine change of base...


A birds-eye view of the battlefield (to see the map click here


The view from Beckettville (looking northwest) 


The Carter House (looking southwest) 


The Church on Westpoint Turnpike 


The view from The Sawmill looking north 


A train gets up steam ready to head north from Crane's Station

The battlefield is ready, all we need now are troops and the generals!

Monday, 27 February 2012

Crane's Station - Objectives & Rules


Victory
McClellan's Army of the Potomac is trying to fight its way south to the James River – to escape from the Peninsula. General Lee with his fledgling Army of Northern Virginia is attempting to cut off this escape route. The DM level for both armies is 6.
Union infantry control of The Sawmill, the Sawyer House or Beckettville will increase the Union DM level by one point per location for as long as they are held.


Deployment
Allocate a numbered entry point on the northern map edge to Cooke's Cavalry and to each infantry Corps – forces may enter behind each other on the same road if required. Initial orders for infantry Corps are simply to march south with all haste by road. This may create traffic jams but this is intentional to simulate the chaos of the real flight. Order of march as per order of battle - all units arrive in March Mode. McClellan's Army HQ will enter just behind V Corps.

Cooke's Cavalry Division is in Recon Mode but must also have orders that he attempts to follow as the situation permits. He begins the game on the table deployed in road column, starting from his chosen entry point.


Intelligence
The enemy may have manoeuvred to block your path, screened by Stuart's cavalry. They are likely to consist of Longstreet's and A.P.Hill's commands, plus Magruder's small Corps from the Richmond defences.


Rules
Ammunition rule is not in use, but each Union Corps is encumbered with wagons for more historical chaos.

Game starts 7:00am -  ends in a draw if there is no winner by 8:00pm.

Crane's Station - Union OOB


Army of the Potomac ~  General McClellan (C)
20 infantry brigades – 164 SPs – 8 batteries - DM level = 6 
Cavalry ~ Cooke (C)
Emory                   7
Blake                    7
Stoneman             7
ART Horse           7

V Corps ~ Porter  (C)

1st Division Morell    (C)
Martindale            8  
Griffin                   8  
Butterfield            9     
ART bty                8
2nd Division Sykes    (B)
Buchanan            8     
Chapman             8    
Warren                 7
ART bty                8
3rd Division McCall   (C)
Reynolds              9
Meade                  8
Seymour               7
ART  Rifled          9
WAGON x2

IV Corps ~ Keyes   (C)

1st Division Couch   (B)
Howe                    9 
Abercrombie         8  
Palmer                  8
ART bty                8
2nd Division Peck      (C)
Naglee                  9
Wessells               9   
WAGON x1

II Corps ~ Sumner   (C)

1st Division Richardson (C)
Caldwell               8
Meagher               8
French                  9
ART bty                8
2nd Division Sedgwick    (B)
Sully                     8
Burns                   8
Dana                    8
ART bty                8
WAGON x1

Battle of Crane's Station - Map

Click on the map for a closer look.