Crenshaw’s rifled battery of A P Hill’s Division – fire from this battery stopped Kearny’s routed troops from rallying in the town.

A view of Kearny’s collapsing flank from behind the advancing Confederate line – that’s Joe Hooker looking a little exposed in the middle of that field!

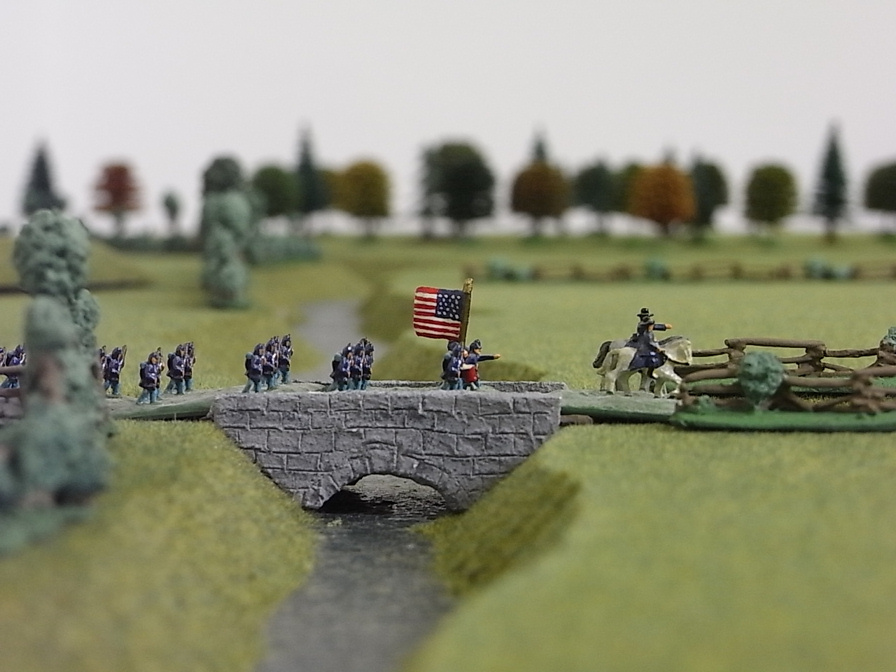
The view forward from the Union left flank – A P Hill’s men are visible in the distance.

Another view of the Rebel attack on Kearny – looking due north from the Wheatfield towards Avery’s Ridge.

Fitzhugh Lee’s troopers on Pitt’s hill didn’t fire a shot all day but added a bit of dash to proceedings.

More of Kearny’s Division in front of Elington – the general can be seen trying (unsuccessfully) to rally his broken command.

A ground-level view looking west towards Elington – Rebel infantry are advancing through the Wheatfield in pursuit of the Yanks…